Its been a year since my last post so I thought I'd catch up to date here. The Lido 14 I bought with the dagger board keel was sailed a few times and sailed just fine, a couple times on Tempe Town Lake and a couple times on Lake Pleasant north of Phoenix.
Then I found a sweet little Classic Marine 10' Cat rigged dinghy. It didn't have a trailer so it was delivered in the back of a pickup truck. I bought a trailer that was originally a catamaran trailer and adapted it for the dinghy. I did a lot of work on it including a new axle with 13" wheels. The small 10' was just too small so I let it go and sold it to a girl in Flagstaff.


By the way, I wrecked the 2006 Porsche Cayenne (with no trailer hitch) and have replaced it with a 2005 Porsche Cayenne with a hitch.
Then I found another Lido 14 with the centerboard keel all in tact so I sold the other Lido 14 (dagger board keel) to the guy that sailed with me in the video.
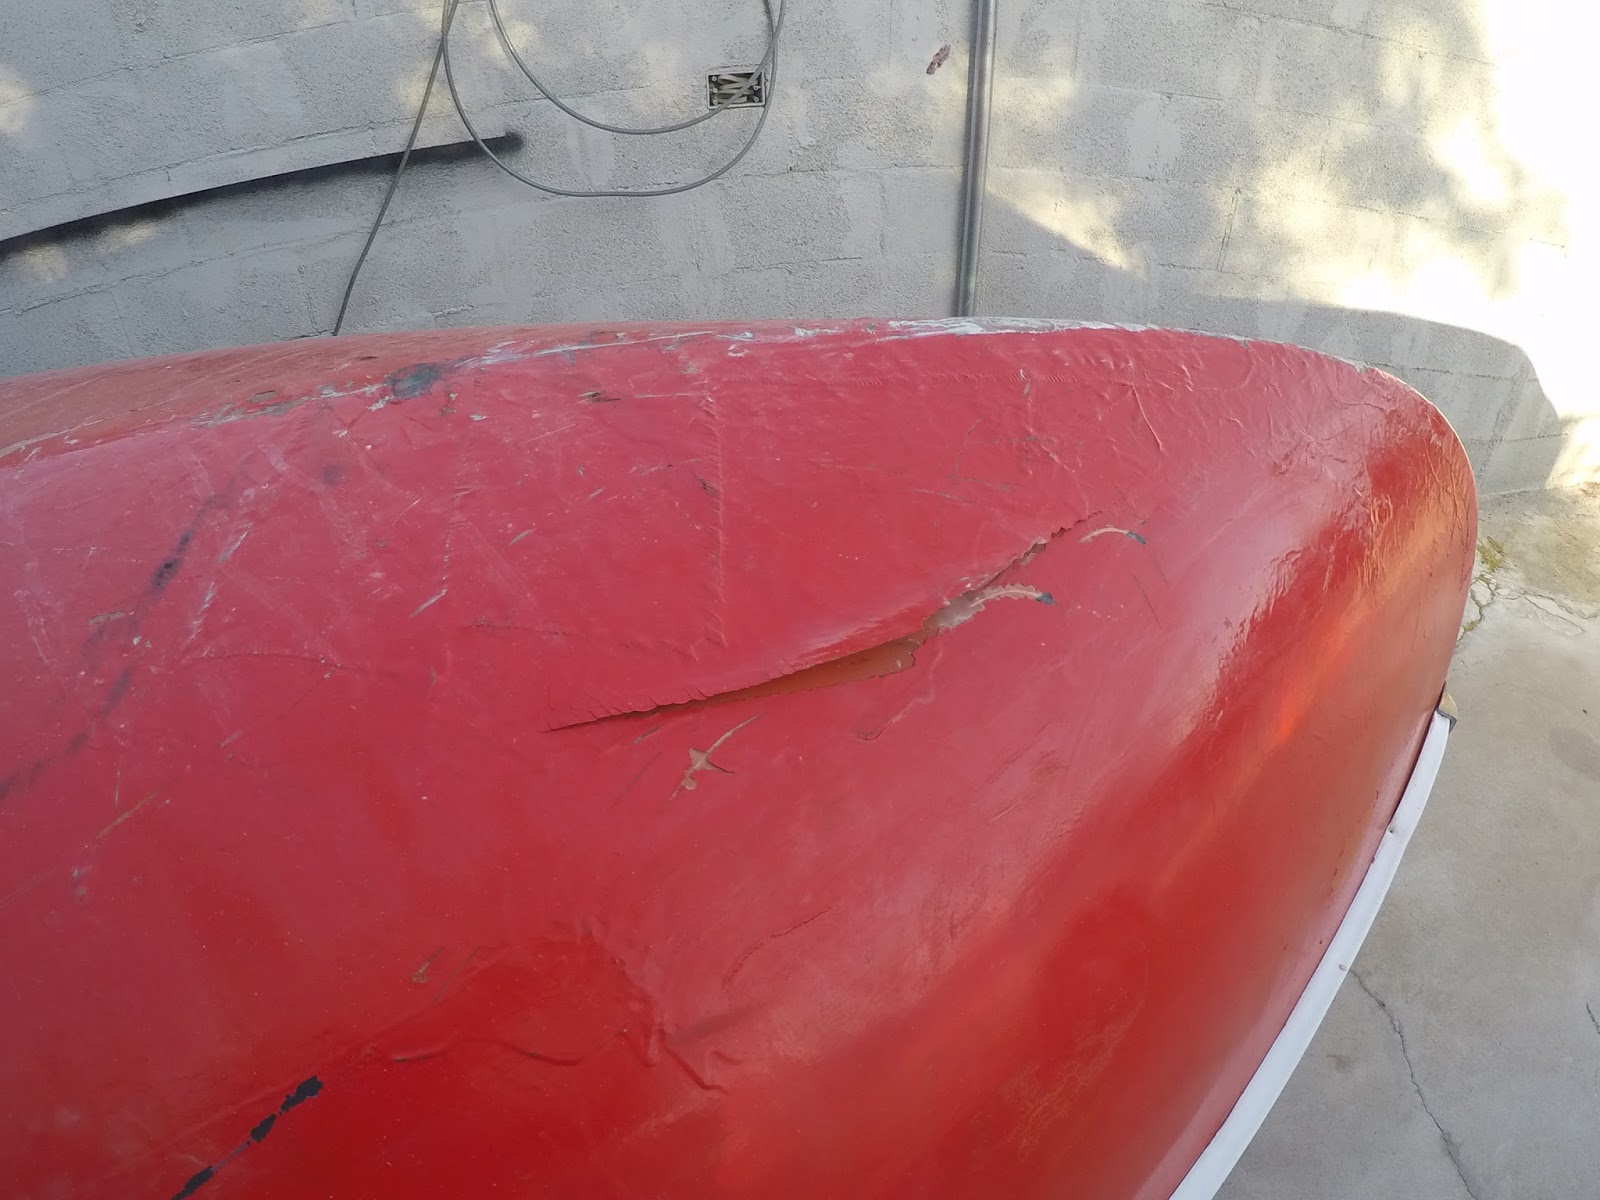
So now the restoration of the current Lido 14 begins. The outside of the hull is a mess. a patch of fiberglass was peeling off so I ground it off and it turns out the hull had a crack in it. Instead of repairing the crack, a load of resin and cloth was layered over the crack. Due to the constant flexing of the crack, the patch just started to peel off the hull. That's up to date. I will cut the crack out and reconstitute the integrity of the hull. Then I will sand down the hull and prepare it for possible glass work and new paint.


I laid down overlapping strips of clear packing tape on the relatively flat part of the hull just ahead of the stern. Then I laid down a piece of cloth about 1 1/2" larger than the hole. I covered it with resin and allowed it to cure. It yielded the perfect patch but too thin and flexible. So I repeated the process, this time adding one layer of matt. The patch was strong enough yet flexible enough to get it through the hole.
So, I drilled 4, 1/4 inch holes in the patch, threaded contractor's string line through them, bent the patch and forced it through the hole in the hull, smeared thickened resin all around the edge of the patch and pulled it tight against the inner hull with the string. The thickened resin pressed against the hull and spread out to make a good seal. Then, with a stick across the hole on the outside of the hull, I tied off the string line, securing the inner patch against the inner hull.

Now, I started building up the hole from the outside using the inner patch as a foundation. It now only remains to be sanded, spread with bondo filler and sanded down again prior to paint (after the rest of the hull has been stripped and sanded as well).


