Sunday, June 10, 2012

New Shirts

When I first bought my Laguna 18, sold some 5 years now in Arkansas, it was named "Second Wind". I changed the name to "In My Daughter's Eyes" (a song recorded by my favorite, Martina McBride). I did keep the name around though. My company that owned my restaurant "Rick's Place" (in Sharon, Kansas 2005 & 2006) was called Second Wind. Although I adopted the call name of "Sea Swallow" for this blog as that will be the name of the Chrysler 16 I am going to refurbish when I finish the Lido 14, I am retaining the name "Second Wind (Sail)" for the "entity" (me) that refurbishes small sailboats. So I unveil the new shirts I have just had made. I did the logo design and the shirts were made for me locally here in the Phoenix Metro area by:
                                 Duane Kilzer, 480-648-6800 / dkminus1@gmail.com


The Hull


Once I had the keel removed, I placed the hull back on the trailer, keel side up, so I could inspect and refurbish the hull. The first thing I wanted to do was strengthen the join between the hull and the keel trunk so I laid Glass Cloth along both sides of the keel trunk. The first attempt was to place a strip of Glass Matt in between the Cloth in a fold. That proved to be a real pain to get it to lay the way I wanted as the Cloth would not fold well and kept opening up. The second attempt was done by laying one piece of Cloth followed by a strip of Matt and another layer of Cloth. That seemed to work better but was not the finished seam that I really wanted. Oh well, I have moved on. I now only need to sand the second side as it has an unfinished Cloth edge up in the trunk. I am not sure I needed to do that but as I was already there and considering the state of the hull in all other aspects, I figured Why Not?

Secondly, what I found was not in anything I had read about. At the point where the support brackets for the mast support beam connected to the hull and at the spots where the support brackets for the keel truck sat on the hull, the hull had given way and bowed outward (like a bubble).  In the case of the mast support beam brackets, I just left them alone but on the bottom of the hull near the centerboard keel trunk, it looked like 4 speed bumps in the hull perpendicular to the length of the hull. I could not sand the high points down as that would have gone through the hull so I attempted to reduce the height on these bumps by ramping up from both sides. I did this on one (as it was near 3/8s of an inch) with layers of Glass Mat in a series of ever shorter layers. Then I finished off with layers of fiberglass bondo. The result was not a racing hull but clearly, an improvement. 

After accomplishing this effect to my satisfaction (when it comes to sanding, I am easily satisfied seeing no need to spend more effort than absolutely necessary), I was ready to paint, or so I thought. But when I inspected the bow, I found that it had been rammed into something (a dock?) and had 2 areas, one 7  inches long and one 4 inches long that had been shattered, filled from the inside with silicone, patched on the outside with bondo and glassed over with one layer of cloth. After sanding away the layer of cloth, the bondo cracked and literally fell out. So I ground down the area with my DeWalt grinder and a 60 grit sanding wheel. Then I applied one layer of cloth & West Marine Epoxy resin to the outside to give me something to work on. I could not now get to the inside without removing the bulkhead I had so substantially built previously.  Then I began to build up the bow with layers of Glass Matt. After getting about ½ the fill I wanted, I laid another piece of Glass Cloth. Again, more layers of Matt and finally 2 more layers of Cloth. I am just about there now and am going to lay a couple more layers of Matt and follow with one more layer of Cloth. The bow is now as hard as a rock and should withstand an amateur docking (of which I am capable). I have even considered putting a strip of oak on the bow but that is just too much effort to look pretty. I hope to finish that today and go over the hull one more time with 100 grit just to smooth it out that little bit more. I am not interested in using 200, then 400, and then wet sanding as I am not building a racing machine.   
As far as paint goes, I have purchased from West Marine, “InterLux Brightside” topside (meaning deck or hull above the waterline) Hatteras white. I plan to roll this on by hand. As this boat will only sail for a few hours per trip (and likely in inland lake waters), be washed off and trailer kept in the driveway, I see no need to use true bottom paint. I can’t find much reading material about painting boats even in all the small boat building articles available, at least none I can understand and apply to my situation. Most all send time on the prep work which the effect depends on the amount of time you put in (refer to my previous statement that 60 – 100 grit is good enough for me). I used this paint once before on my Laguna 18 because someone ran into me on the freeway (another story) and I absolutely loved the color. I think this paint will give the boat a softer “New England Classic” feel about it. Well here are the pics so far. I will add to this post with more pics as I finish off the hull. I just wanted to get this post started with pics up to now.

                                                        
                                                         Finally !!!    A painted Hull !!!    

                                                                
 I want to thank the guys for helping me flip the boat back over so I can now finish off the inside.
Mike Parker, Scotty Baker, Barry Brooks & my neighbor Gary. Thanks guys !


Tuesday, April 24, 2012

Keel Renovation


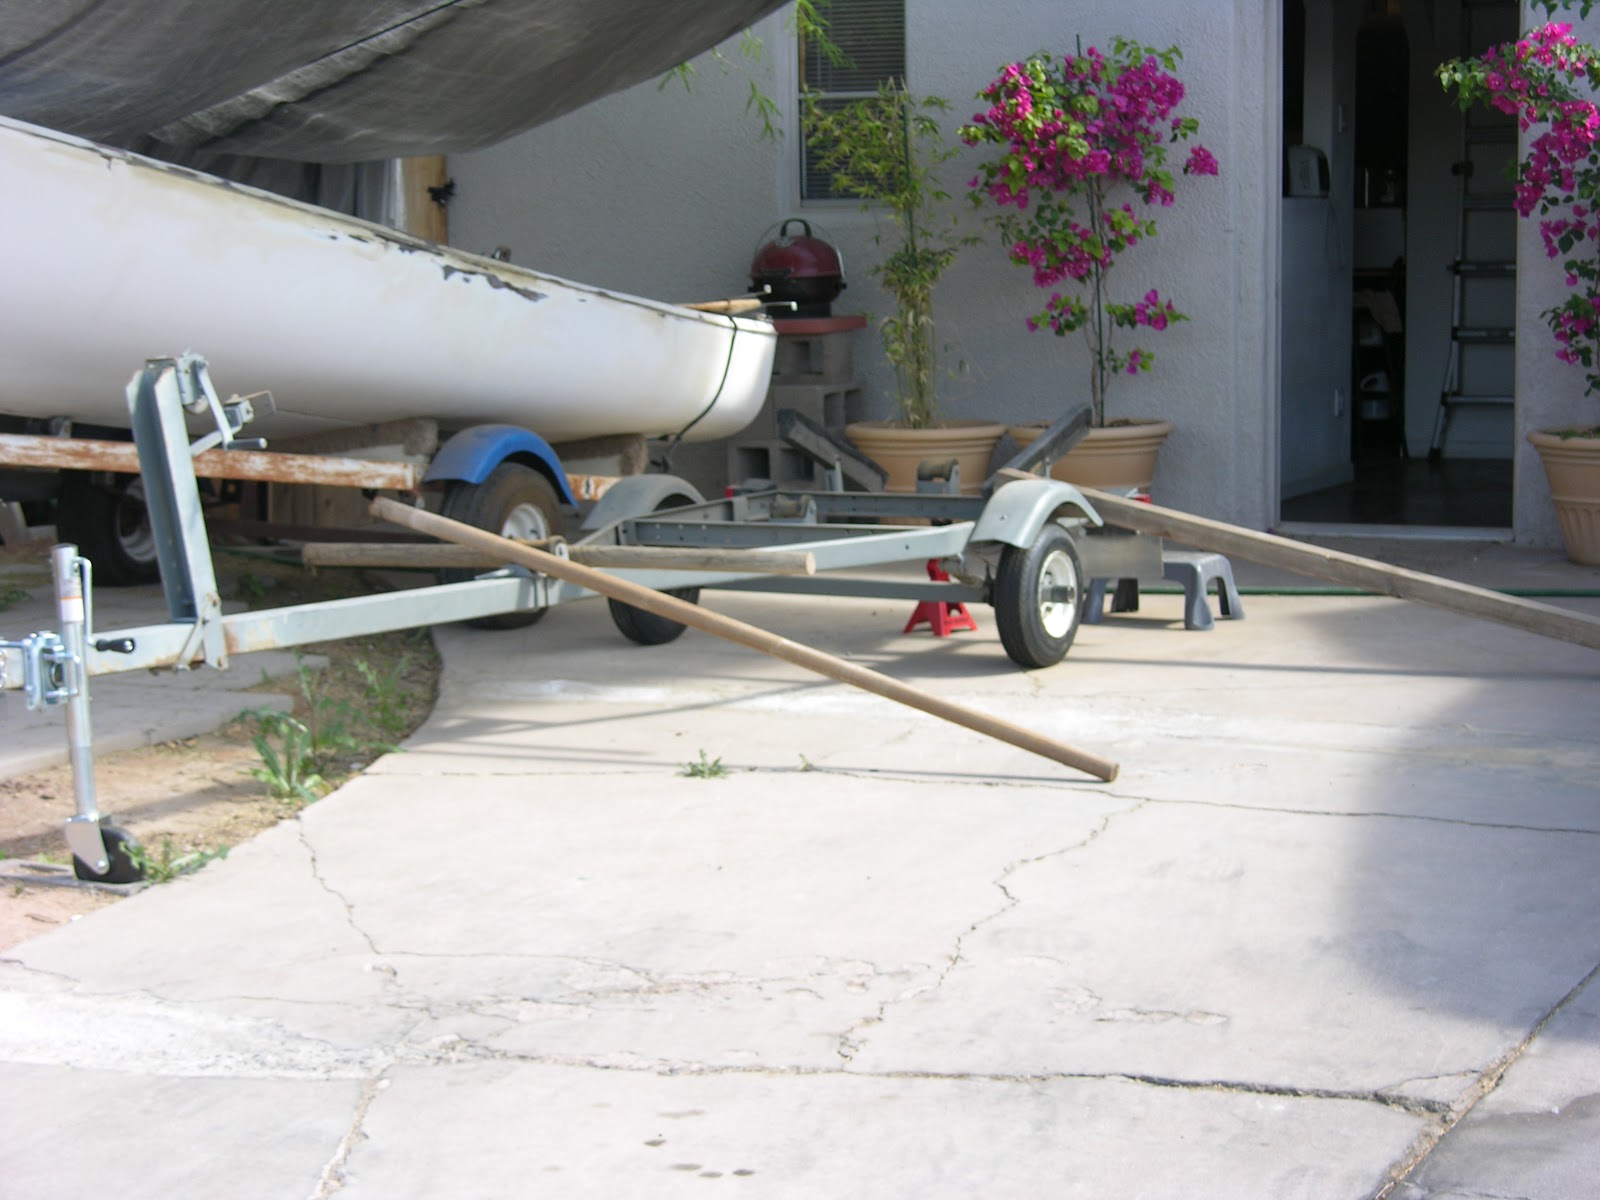
In order to remove and inspect the keel, 4' of clearance is required. So I put a couple 2 x 4s on the trailer as a ramp and lifted the stern, then the bow onto the ramp. I slid the boat down the ramp and turned it over on its side. Then I removed the keel trunk cap, unbolted the swing arms and pulled the keel out the inside of the boat.


The brass fitting that was riveted to the keel was loose and the rear 2" of the keel had been replaced with resin filler and glass cloth. When the brass fitting was removed and the glass removed from the keel, the wood around the fitting was pretty bad and the back of the keel was also pretty bad.
I trimmed the keel down, cut a piece from the Red Oak I have been using and epoxied the brass fitting and the Oak piece on to the keel eliminating any rivets or nut & bolts. I also left the 2" off the rear of the keel. Since I do not intend to race this boat and only intend to produce a family day sailor, I don't see that the 2" will make that big of a difference in performance. If I find that it will not perform, I will attempt to rebuild the rear of the keel at a later date, adding another 2 inches.
The keel is now ready to take 2 coats of resin, a layer of glass cloth and a final coat of resin and then paint.
 Follow Up:
Well, It looks pretty good in the picture........ BUT..................I used a cheap ($2, 2") brush. Applied 2 coats straight off. I got way too much paint on and it would not dry. When I thought it was dry, I tried to sand it. That just roughed up the wet spots, took a load of grit from the sandpaper and deposited the same into the wet paint. I tried to let it dry again and repeated the process, this time with a good brush, with the same result. I spoke to a friend of mine, Mike Parker, who is a retired professional Auto & Boat painter. He told me I needed to use primer, thin out the paint with thinner and pay attention to the temperature as paint doesn't like it over 80 something degrees (Fahrenheit). All good advice.  Thanks Mike for taking the time to listen to my amateur project! . But.....I really didn't want to use a primer for various reasons (cost, time to apply, ultimate desired results being lower than a pro's), I wasn't comfortable thinning the paint not knowing just how thin it should be, and I wake up to 90 degrees here in Phoenix, AZ so I had to figure out just how to get the same results I got on the hull at 110 degrees with the same paint.

So I bought some stripper at Home Depot (Citristrip) that I thought would strip the paint and leave the epoxy alone. It worked OK. I then sanded again with 150 grit. Looked good so far. Now the question was, how to apply (without a spray gun since I didn't have one or want to spend the $$$ to get one). I decided to use the 4" foam roller that I used on the hull. YES! It put on just the right amount of paint, 2 coats one right after the other. Let dry for a couple hours and one more coat. Drying and setting hard. Looks real good now.


By the Way: Truck License Plate MMELEVN = Martina McBride Eleven (her current Eleventh Studio CD)


I also cut a small ladle out of an aluminum V8 juice can and avoided the pool of paint in the lid well since I did not have to pour the paint out of the can but ladled it into the paint tray.


Sunday, April 8, 2012

Compression Beam Hull Supports

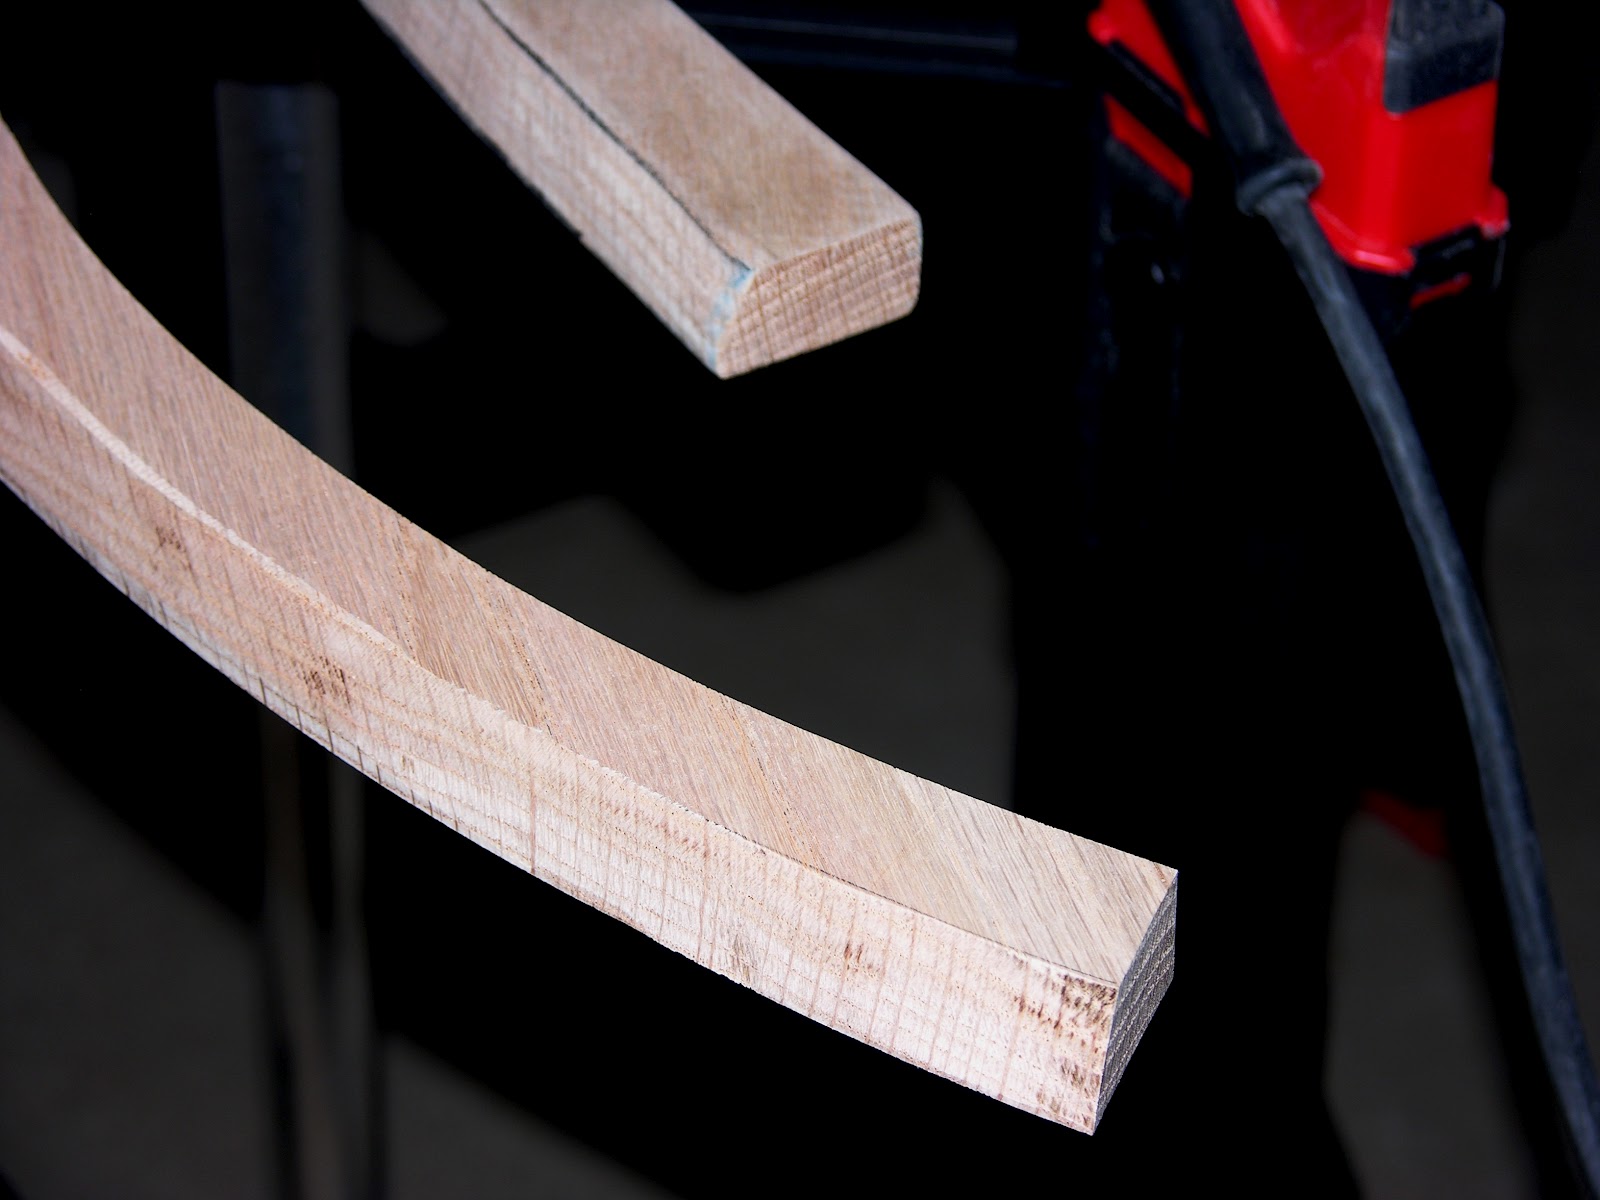
I decided to fabricate new side supports from the solid Red Oak that I have been using. The actual supports that connect the beam to the side planks fixed to the hull are two pieces epoxied together.

                                                                   Original Side Supports


                                                                       New Side Supports


Saturday, March 31, 2012

Lido 14 Mast Step Reconstruction

With the forward bulkhead completed, I am now reconstructing the Deck Mast Step. So I removed the beam that spans the deck. Then I removed the brackets on the sides of the beam that were fixed to the hull. I have reconstructed the beam and reset it under the deck.


Now I have to construct the side supports that are fixed to the hull.

Monday, March 26, 2012

Lido 14 progression

I wrote to John of Double Wave to ask about restoring the Lido 14. I did not want to do anything that would disqualify it from a future owner racing it. He wrote back right away and told me that it was not in good enough condition to worry about being raced and also noticed that the Keel Trunk had an extra strut added forward. So, with just day sailing in mind, I am free to do most anything to restore the boat.

So my first project was to build a forward bulkhead under the bow for structural reinforcement and flotation.
I cut opposing ribs from a 3/4"solid oak plank and the bulkhead from 3/8"oak plywood. I used West System resin to fix the ribs into the bow and fixed the plywood to the ribs with 6, 20 x 1" stainless steel wood screws. Then, to seal the front bow space as an air flotation space, I glassed in the aft edge with 4" strip of cloth. Both the ribs and the plywood bulkhead were treated with West System resin for water proofing.


Bulkhead is finished and I am now starting on the beam under the bow that supports the Mast tabernacle.
It has been removed and I will be replacing the supports on the sides. Will document and post next time.

Sunday, March 4, 2012

Lido 14

 Perusing Craigslist for small sailboats under a few hundred $$$, I found what looked like a sail able boat that I could maybe get on the water while I was doing a more extensive restoration of my Chrysler LS-16. I found the following at our local Goodwill.


        This boat had a Lake Havasu Yacht Club decal on the back and had been donated to Goodwill.

So, Friday after work, I went to check it out in Central Phoenix after stopping by the ATM to get some cash.
The boat looked pretty good for an old boat (listed as a 1970). so I gave up my $$$, signed off on the Trailer title and hauled it home (only a couple miles). When I got it home I started picking through the lines, shrouds, mast, boom, etc so I could see just what I had. Not too bad really, all the hardware was in good shape. Even the lines were usable, just needing a good wash. The sails were also in fair condition. Certainly the boat would get me on the water on our local Tempe Town Lake for the spring & summer while I put some real effort in my LS-16. 


So, I started looking on the internet for history and info about the Lido-14. What I found was very interesting and a bit baffling. First of all, sail numbers are originally matched with the boat hull number. The sail number is 2051 (vintage 1965). Now I can see an old boat with a new sail but a newer boat with an old sail didn't make much sense. And the logo & numbers are stitched as history says they should be for the #.


And the Hull ID # on the Arizona Game and Fish registration (and amateur engraving on a 1" x 3" plate bolted to the inside of the Port side transom) had numbers in it of the AZ registered decal either side of the bow. Looked fishy to me. So I started looking for the Hull #. With paint stripper, I looked from the top of the transom inside all the way to the rear of the Keel Trunk. I also looked for the embedded # on the outside of the Transom, Port & Starboard. I have found nothing as yet. The boat also has the traveler listed as on the "Classic Lido 14". 


Another curious feature was the forward bulkhead, obviously added after manufacture. It was secure but with screws and calking rather than with something like West System epoxy resin as I would have done it. I take it that there was no forward structure when the boat was built. The bulkhead was put there to aid with recovering from a capsize. Photos of later Lido 14s have a fiberglass manufactured bulkhead with a small compartment in it.


The Boat was painted dark Blue over the factory glass. So I don't know what the real year of manufacture is yet but I am intending to sand the area where I stripped the paint. I have to do that anyway now to prepare for new paint.

I will also replace the bulkhead with another better placed and better structurally. I will likely fill the bow area with expandable foam as well but now, although I have no intention of racing this boat, I want to make all additions acceptable with racing rules because whatever I do will be difficult to undo for a future owner that may want a "Classic Lido 14" to race. 

I do think I will get this boat in the water in a few weeks. It is in very acceptable condition for my skills of restoration. Anyone that can assist in identifying this boat for Hull # or probable year of manufacture would be greatly appreciated.